The global essential oils market was valued at $18.6 billion in 2020 and is expected to grow at an annual growth rate of 7.4% from 2021 to 2028.
Essential oils offer many potential benefits, and many people are looking for more natural ways to cure ailments. While you can find tons of different kinds online or in-stores, you can also make essential oils at home using your own plant material.
This allows you to tailor the oils specifically to you, so why not try it out?
Keep reading below to learn how you can DIY essential oils in just a few steps.
How Essential Oils Are Made
Essential oils are plant extracts. They capture the essence of the plant in scent and flavor form, which is where they get their name.
To make essential oils, you must press or steam the plant to extract its oil. You may use various parts of the plant, such as the leaves, flowers, fruit, or bark.
If oil gets extracted through a chemical process instead of a natural one, it is not considered a true essential oil.
Once the essential oil is extracted, it is generally mixed with a carrier oil to make it suitable for consumer use.
Plants That Can Be Used
You can use many different plants when embarking on projects that involve DIY essential oils. If you plan on using essential oils for specific purposes, it’s wise to look into each plant’s potential benefits.
To reduce anxiety:
- Lavender
- Lemon
- Rose
- Bergamot Orange
To improve sleep:
- Chamomile
- Peppermint
- Clary Sage
- Lavender
To increase focus:
- Eucalyptus
- Sweet Orange
- Rosemary
- Lemon
Essential oils can help with many more ailments, such as nausea, skin aging, acne, and depression. Since you’re making you’re own infused oils, make sure to do your research so you can make them work for you.
Step-By-Step Guide
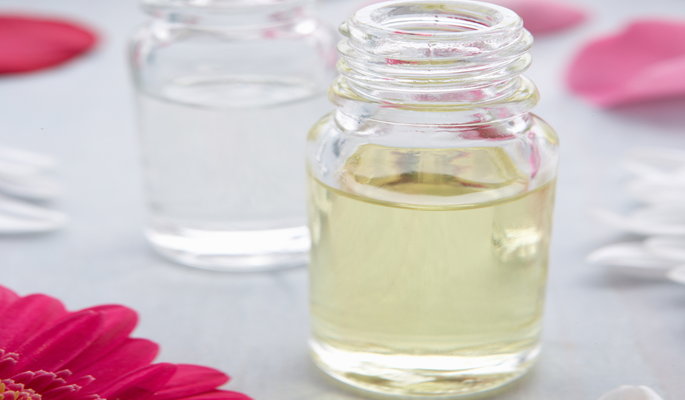
To get started making your aromatherapy oils, you should first gather your equipment. You will need essential oil vials, a crockpot with a lid, distilled water, and your plant material.
Next, place your plant material in your crockpot. Fill your crockpot about three-quarters of the way full with the distilled water, ensuring the water covers your plant material.
Place the lid of the crockpot on upside down, allowing the steam to condense into the pot. Turn the crockpot on high.
Once the pot is hot, turn the heat down to low, allowing it to simmer for three to four hours. If you feel the plant material has cooked down, turn off the heat and allow it all to cool.
Once cool, place your crockpot into your refrigerator and allow it to chill for twenty-four hours. At that time, take the crockpot out of your refrigerator, and you’ll see that the oil has formed and hardened at the top.
Quickly and carefully lift the hardened oil and place it into your autosampler vial and various other glass vials or bottles. Ensure you cap and label each vial and bottle and store them away from light and heat.
You did it; your DIY essential oil project is complete!
It’s Easy to Make Essential Oils With These Tips
It’s time to make essential oils, and now you know exactly how to do it. Gather your plant material, set up your crockpot and vials, and start steaming. Then, grab your oil diffuser and get to relaxing.
If you’d like to check out more lifestyle articles, browse through our collection today!


