Introduction:
Every iPhone user will, at some point, need to access their SIM card. Whether you’re traveling, troubleshooting, or simply switching to a new device, understanding the intricacies of your SIM card is crucial. With this guide, you’ll be well-equipped to handle your SIM card safely and confidently.
Explaining How to Get the SIM Card Out of an iPhone:
Your SIM card, a tiny chip housed within your phone, acts as the bridge between your device and your cellular network. It’s responsible for your phone number, network authentication, and more. Think of it as your phone’s ID card. Removing it is sometimes necessary, and doing so safely ensures the continued performance of your device.
The Significance of Getting the SIM Card Out of an iPhone:
Understanding the importance of a SIM card is vital. It’s more than just a piece of hardware; it holds critical data that allows you to connect to networks, make calls, send texts, and use cellular data. By knowing how to properly remove and handle this chip, you’re preserving the integrity of your service and the security of your device.
In-Depth Exploration:
1. Prepare the Necessary Tools:
1.1. Obtain the SIM eject tool:
- This is a small, metal tool included in the box of every new iPhone.
- If misplaced, a small, straightened paperclip is an effective alternative, although slightly less ergonomic.
1.2. Power off your iPhone:
- Navigate to Settings > General > Shut Down. This ensures that the phone doesn’t accidentally misread the removal as a technical issue.
1.3. Workstation:
-
- Set your iPhone on a flat, well-lit surface, preferably with a soft cloth beneath to prevent scratches.
2. Locate the SIM Card Tray:
2.1. Model Matters: Each iPhone model might have slight variations in design. Familiarize yourself with your model’s specifics.
2.2. Spotting the Tray: Most newer iPhones have the SIM tray on the right side, identifiable by a small rectangular outline with a pinhole.
3. Ejecting the SIM Card Tray:
3.1. Application of the Tool: With a steady hand, insert the SIM eject tool or paperclip into the pinhole. Apply gentle, consistent pressure until the tray pops out slightly.
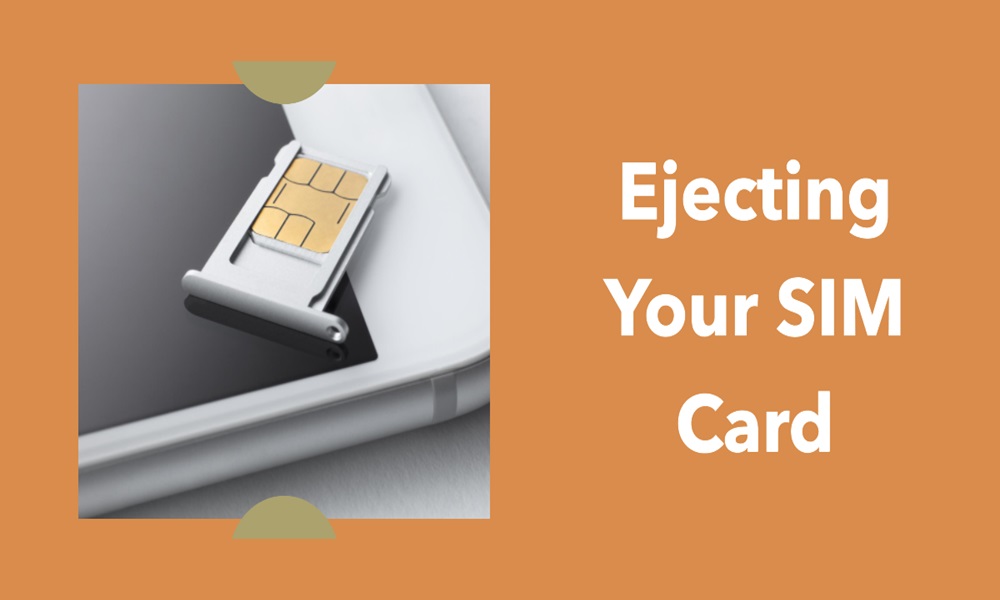
3.2. SIM Tray Removal: Using your fingers, gently grasp the ejected portion of the tray and slide it out, ensuring you keep it level to prevent the SIM card from falling.
4. Replacing the SIM Card:
4.1. SIM Orientation: If replacing or examining, note the direction of the SIM’s gold contacts and the notched corner. This will aid in reinsertion.
4.2. New SIM Placement: If inserting a new SIM, place it in the tray, ensuring the notched corner aligns with the tray’s corresponding cutout.
5. Reinsert the SIM Card Tray:
5.1. Alignment: Carefully align the tray with its slot, ensuring the pinhole side matches the phone’s hole.
5.2. Reinsertion: Gently slide the tray back, ensuring no resistance. If there’s resistance, remove, and check the SIM’s placement before trying again.
6. Power On and Connectivity Confirmation:
6.1. Power On: Hold down the power button until the Apple logo appears.
6.2. Connectivity Check: Look for your carrier’s name and the signal bars. If they appear, the SIM card has been properly read.
FAQs:
Q: Can I access cellular data immediately after inserting a new SIM?
A: Usually, yes. However, some carriers might require additional setup or activation.
Q: Is there a risk of scratching my iPhone when using a paperclip?
A: If careful, the risk is minimal. Always use the paperclip’s smooth end and avoid dragging it on the iPhone’s surface.
Conclusion:
With the steps above, you now possess a comprehensive understanding of safely handling your iPhone’s SIM card. It’s a valuable skill, ensuring your device’s longevity and your uninterrupted connection to the world.
Personal Closing Remarks:
Navigating the inner workings of our devices can be daunting. Still, with patience and the right guidance, we can master any task. Thank you for entrusting this guide with your learning. Dive deeper into our other resources for more tech wisdom. Happy exploring!

